
As I have mentioned, I love to sew without a pattern. I enjoy figuring out what I need, designing it and sewing it. I call myself a hack sew-er, because I would much rather make something without a pattern than to make something with a pattern.
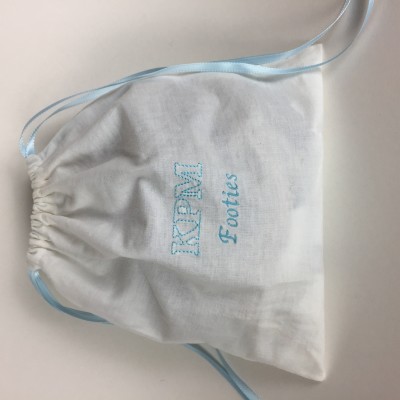
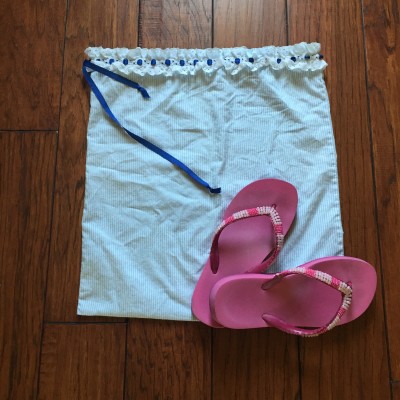
Recently I realized that my footies (sockettes, liner socks, or whatever you call them) were getting lost in my sock drawer. My answer, a small drawstring bag that could keep these puppies corralled.
I have been using it for a few months now, and it is perfect! Not so big that it hogs valuable sock drawer space, nor so small that all my footies won’t fit.
If you want to make your own bag for your footies, here is what you will need:
A piece of fabric about 9 1/2″ wide by 20″ long. I used a scrap of white muslin.
Ribbon or string to use to draw the bag closed. About 2 yards for this sized bag.
A sewing machine with matching or contrasting thread.
After cutting a piece of fabric to your desired size (to make one like mine, you need 9 1/2″ x 20″). I ironed a crease in the middle of the fabric, which left me with a folded piece of fabric 9″ x 10″. If your fabric has a right side, iron so that the right sides are together.
On one half, I machine embroidered my initials and the word “Footies” (no laughing – that is what we called them growing up). If you are embroidering on your bag, be sure you don’t embroider it upside down. Think it through. And, if using a fabric with a right side, make sure it appears on the right side.
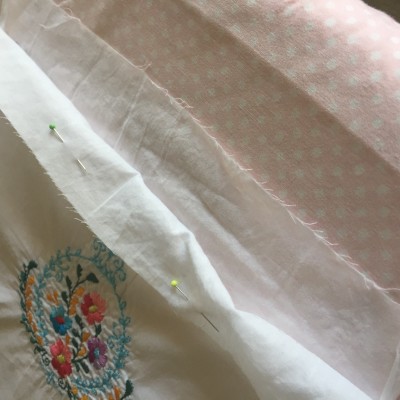
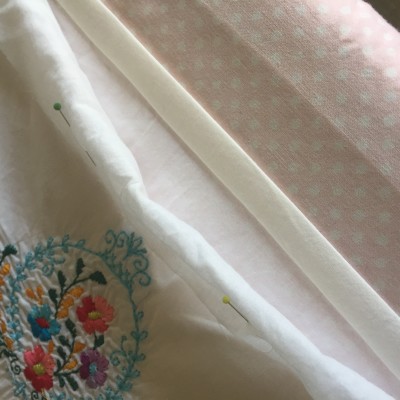
Turn the fabric so that the right sides are touching, matching up the short edges. Pin along the sides and top.
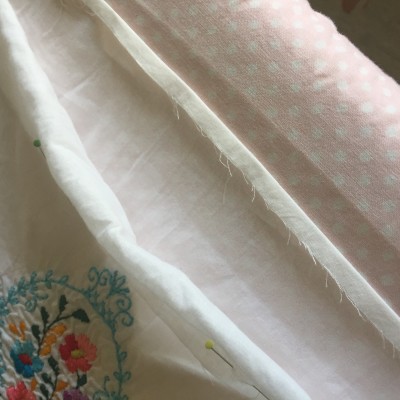
Sew a 1/4″ seam from the crease toward edge, stopping 1 1/4″ before the edge. Repeat on the other side, again leaving 1 1/4″. If you know how to sew a French seam, these side seams would a great place to use them. You would just need to think through how you will incorporate the drawstring.
Iron over the seams to set. Then iron them open.
Continue ironing the edges of the unsewn 1 1/4″ in the same direction as the sewn seam.
On each raw edge at the top of the bag, turn it under 1/4″ and iron the turn so that it stays. Then turn the ironed edge back by 1/2″ inch and again iron it in place. Do this on both sides. Make sure the folds are ironed toward the wrong side of the fabric.
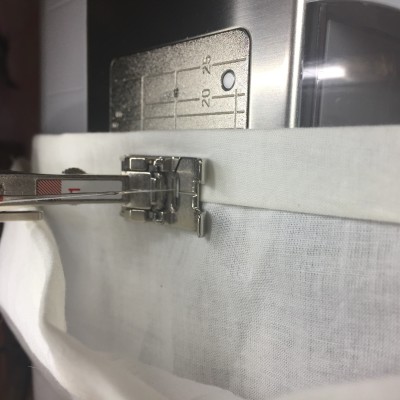
Now sew the edge of the last turn into place, sewing close to the turned under edge. This will leave a narrow pocket on each side, with opening on either end.
Turn right sides out and iron.
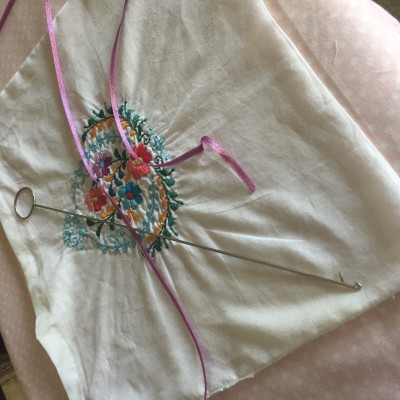
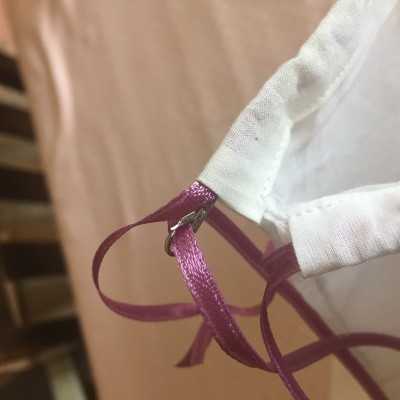
Next run the ribbon through the narrow pockets. I like to use two ribbons of equal length, with each extending out beyond the side openings. Pulling each end cinches the bag closed.
That is all there is to a small, simple bag that can be used for so many things.

Here are few other uses:
1. Decades ago I made a larger bag that has been my travel shoe bag all this time. I can get up to four pairs of shoes in it. It is all cotton, so I wash it after a few uses. It keeps the other items in my suitcase clean.
2. A smaller bag would be a great addition to a car for keeping change on hand. Then when you go through a toll booth or car wash, you have a handy stash of change.
3. They are great for protecting expensive purses. Just make the bag a couple of inches wider on each side and three or four inches taller. Store your purse in the bag to keep lint and dust from getting on it.
4. Bags about 10″ x 12″ are great for keeping lingerie when traveling. Keep one in your bag for clean lingerie and the other for worn lingerie. You could embroider a washing machine on the bag for dirties and a daisy (as in “fresh as a daisy”) on the other.
5. I like to keep my hairbrush in an appropriate sized bag for travel as well. I want to prevent the bristles from getting smashed, keep lint off the brush and hair off my clothes.
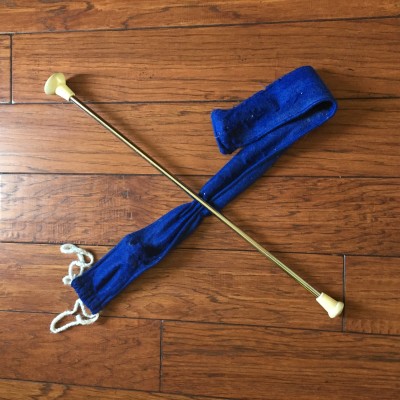
6. When I was in high school, I made a blue felt bag, with white crocheted ribbons, for my baton (blue and white were my school colors). It was a great way to keep my baton clean and free of scratches.
7. When I bought my first home, I made a small tube shaped bag to hold plastic bags. I hung it on the back on my pantry door so that they would be handy, but up and out of the way.
8. Why not make a reticule? Use a little nicer fabric (maybe silk or brocade); embroider and/bead it. Then you have a sweet little drawstring evening purse (reticule) or jewelry keeper.
What uses can you think of for cloth bags? Have you made them before?
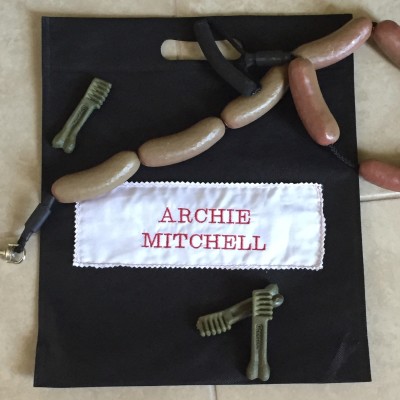
Bonus Information: If you don’t sew, you can take a pre-made cloth bag and make it your own. You probably have several you have received at conferences. Just cut a piece of fabric large enough to cover the printed information. With fabric paint, decorate the cloth. Then use fabric glue to secure the decorated fabric to the bag, covering the printing. If you are worried about the edges unraveling, cut them with pinking shears. I just did this to make an overnight bag for Archie for when he goes to the dog spa!