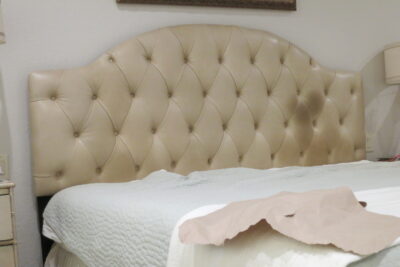
I have wanted to try my hand at recovering furniture for decades now. I have watched videos, taken Craftsy classes and dreamed. The closest I have ever been to reupholstering furniture is to make covers for chairs, couches, and the headboard of my bed.
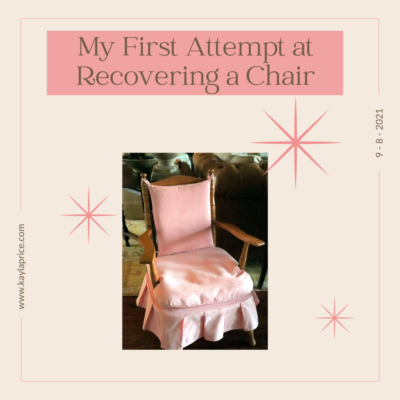
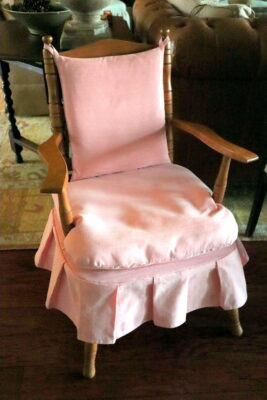
Finally, I took the plunge and tried it. It wasn’t bad at all! I started with a small chair that was my grandmother’s. It was really just making covers for two cushions, covering the seat, and making a skirt. The most difficult part was evenly spacing the skirt, but with the aid of a couple of cardboard patterns, it really wasn’t bad. The entire process took two days of work.
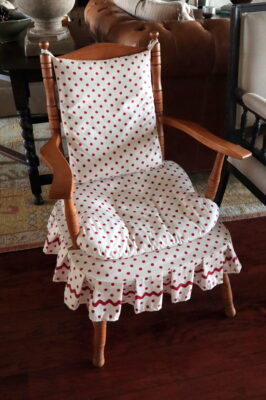
I did a few things to ensure success. I chose a small project that clearly showed how it had been covered. I also left the old cushions intact and just made a cover out of white muslin for them. The seat cushion was too small, so I made the white cover larger and added filler around the edges. I then made outside covers out of the decorator fabric. There were no brass brads, no piping, no trim, nothing complicated. Just sewing and using a staple gun.
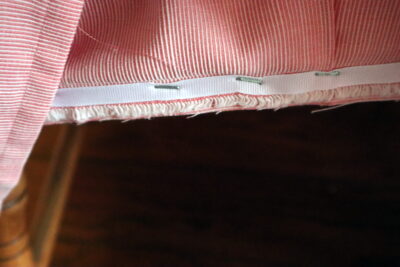
I have never been good about getting staples to go in straight when using the staple gun, but I tried really hard. I did have to hammer them a bit to get them to lay flat. I even used grosgrain ribbon to make the underside look clean and neat.
Of course, I had none of the official upholstery tools, but I found other tools around the house that worked. I took the old staples out with a flathead screwdriver and a pair of plyers. I used the fabric that I had removed to make patterns by which to cut the new fabric. The last person to upholster the chair had not been as precise as I wanted to be, so I evened out the sides and made the pleats in the skirt centered and even.
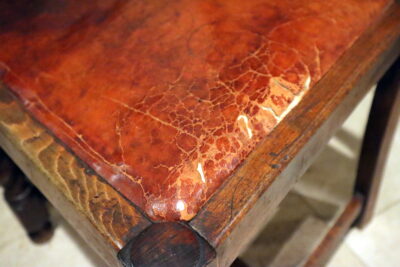
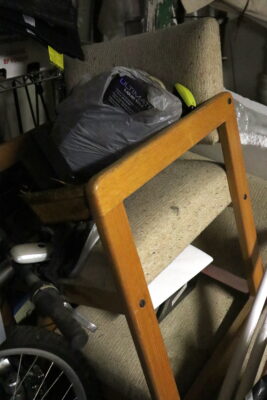
Now I have one more chair to match, and that project will be done. Of course, I have two more 1970s era chairs that I hope to recover as well. They will be a bit more complicated since I will need to take the chair apart to cover them. And, I want to paint the wooden parts. After that I have an antique barley twist chair that has a leather seat which needs replacing.
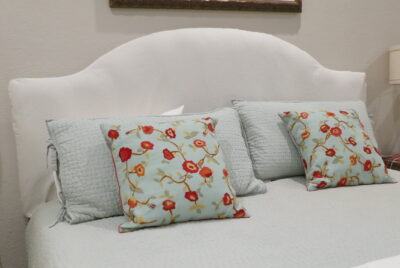
I doubt I will ever try to reupholster a couch, but it is fun to freshen up a chair without all the hassle of waiting on someone to do the work. Really, a good slipcover that is well fitted does the trick.
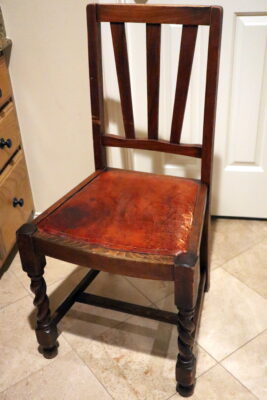
It seems like it is cheaper to buy a new piece of furniture rather than to reupholster it, but I really like the pieces I have, and often I prefer vintage pieces over new pieces anyway.
Have you ever reupholstered furniture? Did you enjoy it? Or maybe you have tried making slipcovers. Did you like them when you finished?
Details:
Chairs are from the 1950s, 1970s, etc.
The headboard was purchased from Ballard Designs in 2013.
Fabric for the pink chair came from Joann’s a couple of years ago.
The headboard was recovered in a bleached drop cloth (needs to be cotton) available here.
Thanks for reading!
Visit me at:
YouTube: Kayla Price – YouTube
Instagram: @AtHomeWithKaylaPrice
Pinterest: @AtHomeWithKayla
Twitter: @AtHomeKayla
All items have been purchased and tested by me. I am including these links for your convenience to find products mentioned. As an Amazon Associate, I earn a small commission from qualifying purchases. This does not increase the price you pay. Any earnings will help me to support and improve my channel.
