Okay, I could not resist this title. The topic of this post is actually more information on rip repair, as a follow-up to this earlier post.
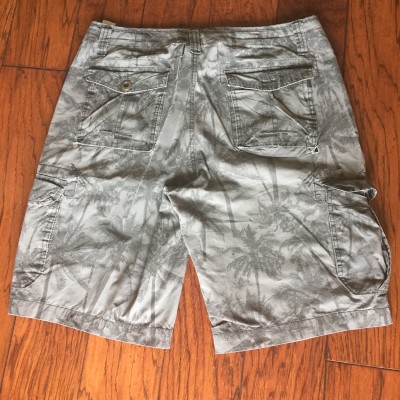
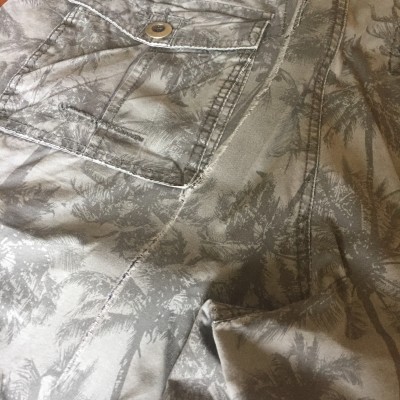
While on vacation, Mike had on the shorts featured in that earlier post. The holes were repaired and all was good.
While at the drug store, Mike crouched down to get a photo card for his camera. He heard what sounded like Velcro and thought his pocket had come open.
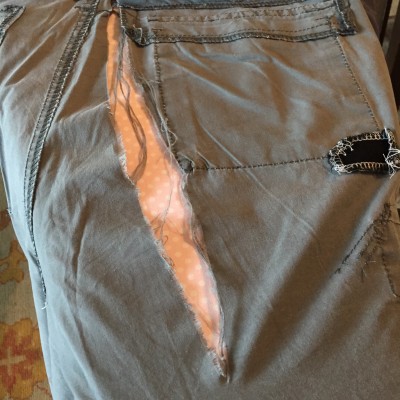
He finished his shopping, completed his purchase, and we all headed for lunch. Back at our vacation rental, he later noticed that his shorts were ripped from waistband down to the leg. His underpants were all that covered his backside.
So, let me use the shorts to show you how to repair a much larger rip in fabric. It is not much different from the earlier small repairs.
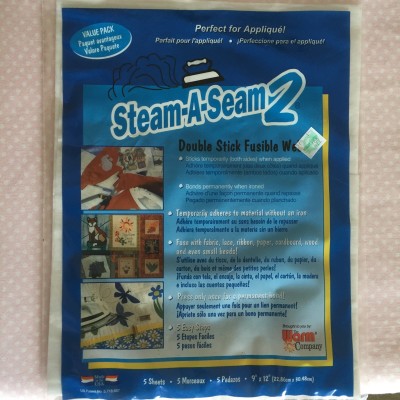
You will need:
* Iron (that steams) and ironing board
* Under fabric (which will likely show; I like to use a piece of fabric that blends or that adds an accent).
* A double-stick fusible webbing. I like Steam-A-Seam 2.
* Scissors
You may want to put an old piece of scrap fabric on top of your ironing board to protect it from melted webbing. The most important thing about this process is lining up the sides of the rip. To look the best, they need to align all the way up and down the rip.
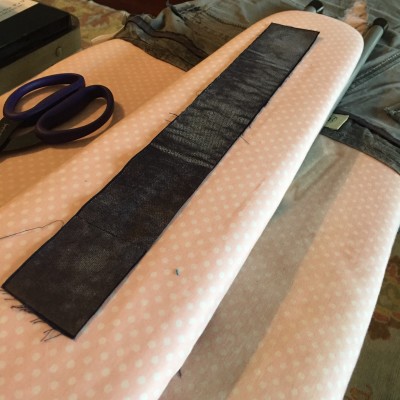
Lay out the item with the large rip, in this case the backside of the shorts. Press the fabric so that it all lays flat. Cut a piece of under fabric that will cover the rip. I like for it to extend about an inch on either side and on the ends.
Cut a piece of the webbing just a hair smaller than the fabric. I try to cut mine so that it is 1/8 inch smaller on all sides and ends.
Making sure the rip is matching up, put the webbing, then under fabric over the rip. After verifying that it all matches up, I quickly ironed the webbing onto the under fabric, so that these two pieces became one. Of course, I left the paper lining on the side touching the iron.
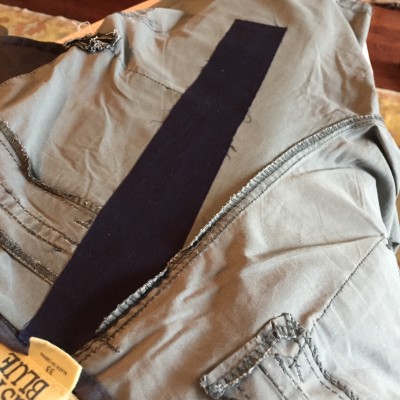
Put the under fabric back over the rip. Follow the directions of the product you are using. Usually this requires ironing for 10 to 30 seconds, all the way down the length of the rip.
These shorts will never be worn for much other than working around the house (not just because they have a rip and holes, but also because the fabric is not durable). If the under fabric starts to peel away, I will zigzag stitch all along the rip in order to secure the repair. I doubt Mike will wear these enough to make that necessary.
When my nephew was young, I did repairs like this all the time on his shorts and jeans. It looked fine and got a bit more wear out of something that would have been thrown away.
There you have it, folks! If Mike decides to turn the other cheek in the future, at least no one will see it!
