This girl loves a kitchen gadget, like nobody’s business. But when it comes to storing all those kitchen gadgets, I have to rethink them.
There are a few workhorses in my kitchen drawers that I use all the time, such as my lemon juicer (although I use if for lemons, limes and small oranges). Or my pasta rattler (that keeps the starchy water from running over the sides). But the avocado tool has been repurposed to scraping stickers off glassware. And the apple corer was passed on to someone who would use it.
One random item that I am absolutely addicted to is my potato pouch. That is the only way I bake potatoes anymore. I love them because: they are fast; other than washing, no prep work is required; and, they peel easily after they are cooked. The potato pouch steams the potato.
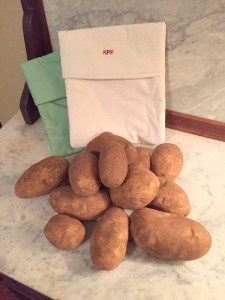
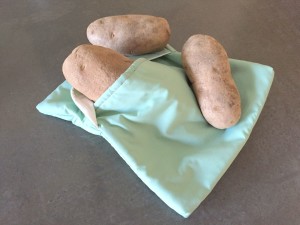
I use my pouch for all potatoes including sweet potatoes. My potato pouch holds up to four baking potatoes. If you think you might want one and have a sewing machine, here is my pattern for making them.
A sewing machine.
Optionally, you can use an embroidery machine or function to personalize your baker.
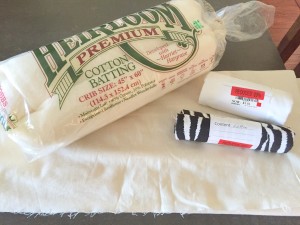
Cut a 9 inches wide and 21 inches long rectangle out of the decorator fabric, the muslin lining, and the quilt batting.
Now it gets tricky, so pay attention. Lay your batting on the table, then on top, place your decorator fabric with the right side up. Then lay your muslin on top. You are going to sew a seam on the short ends (the 9 inch sides), with your fabrics and batting in this stack. Pin your top with 3 or 4 pins and your bottom with 3 or 4 pins. Use a 3/8 inch seam allowance.
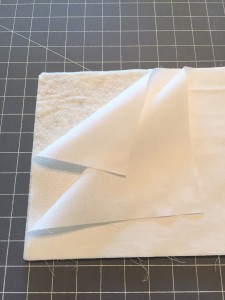
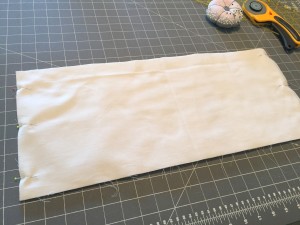
Next, turn the stack right side out by turning the muslin to the other side of the batting. Now you have a stack with the decorator fabric (right side out), the batting, and then the muslin. Your seam allowances are hidden in the stack.
Next, I give a brief press to the seams, making sure they are crisp. I like to put a top stitch 1/4 inch from the edge, just to make it more crisp. So go to your machine and on the 9 inch ends, top stitch over the seams you just sewed.
You are almost finished, so hang in there!
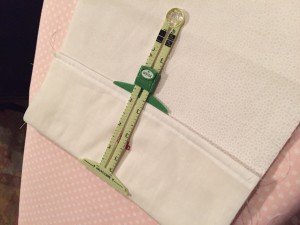
Lay your stack muslin side down on the table. Fold one of the 9 inch ends over itself, making a 3 1/2 inch flap. With the other 9 inch end, fold it over the top, overlapping the original fold by an inch. This fold will be 7 inches. It is very important that the 6 inch flap overlaps the 3 1/2 inch flap, not the other way around. Now pin your long sides, which are still the raw edges. These sides will be about 9 inches long. Make a seam on each side, again using a 3/8 inch seam allowance.
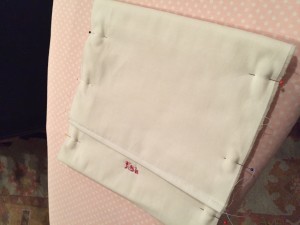
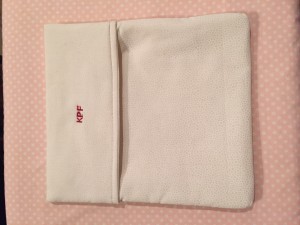
If you want to embroider your initials or a decorative motif on the pouch, do so after cutting out your 9″ x 21″ piece of decorator fabric, be sure to think through the direction that final flap will going, and allow for the seams. If you don’t care what the inside of your baker looks like, you could embroider after you sew your shorts ends but before sewing your sides.
If you are giving your baker as a gift, here is a little direction card that you can print out and include with the baker. Or you could embroider the directions on the longer lip of decorator fabric.
Baker will be very hot, wet and will produce steam (watch your fingers).


